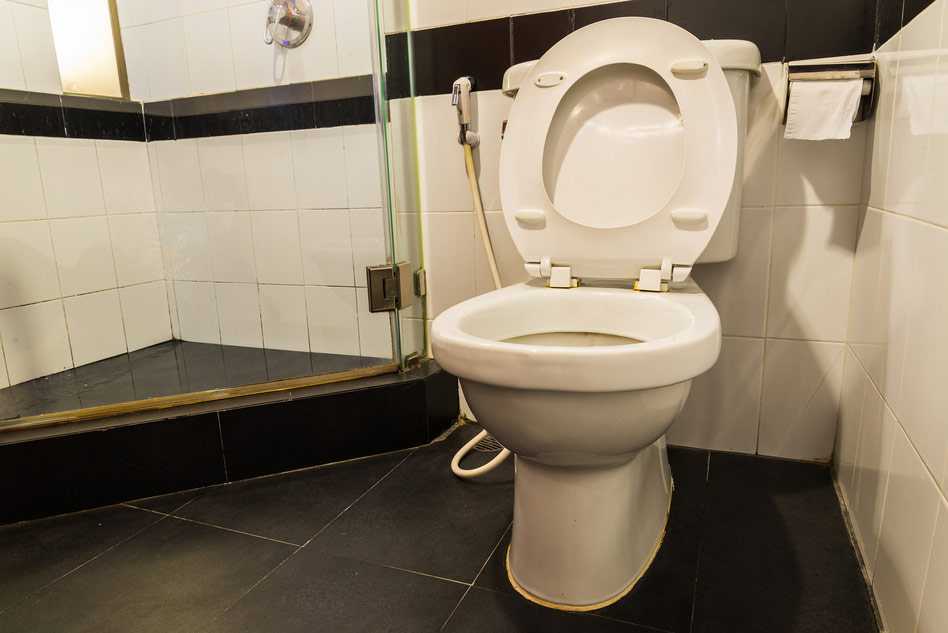
In this weeks DIY post we will walk you through the simple steps on how to replace a flush valve on your toilet.
Step 1: Remove Water
Before we get started you want to fist remove all of the water from the toilet. To do so start by turing off the water supply to the toilet. Next, flush out the toilet to remove all remaining water and then use a sponge to soak up any that is left.
Step 2: Remove Tank From The Bowl
This DIY project requires you to remove the tank from the bowl. Start out by unscrewing the water supply from the bottom of the tank. Then from the inside of the tank unscrew the bolts that secure the tank to the bowl. In some case these bolts may give you a hard time, if that is the case it is most likely due to rust or corrosion. If that is the case then apply some penetrating spray to the bolts to help loosen them. With the bolts off you now want to unhook the chain from the handle level arm. Once you have that off you can safely remove the tank from the bowl (note, you may want to place an old towel on the floor to place your tank on while you work so you don’t mess up your nice bathroom floors).
Step 3: Remove Old Flush Valve
With the tank on the floor upside down remove the spud washer and sued nut from the base of the flush valve. This will require either a spud wrench or large pliers. Once these are off you can then remove the old flush valve from the tank.
Step 4: Install New Flush Valve
Place the new flush valve into the valve hole and check to ensure the top of the overflow pipe is a minimum of 1″ below the critical level line. If it is over that mark you will need to cut the pipe with a hacksaw until it is where it needs to be. Next position the flush valve flapper below the handle lever arm and secure it to the tank from underneath using the spud nut. Make sure to not over tighten as it may crack the tank. Now place the new spud washer over the spud nut.
Step 5: Secure Tank To Bowl
Start by threading your rubber washers over the new bolts that you will use to secure the tank to the bowl. Then thread the bolts through the holes in the base of the tank from the inside and tighten them in place making sure to not over tighten. Next place the tank onto the bowl aligning the bolts from the tank with the holes in the back of the bowl. Once in place secure it by threading on the nuts to the bolts from the underside of the bowl, again ensuring not to crack the bowl by over tightening.
Step 6: Connect The Toilet
Now you are ready to get things back up and running. First connect the chain clip to the handle level arm ensuing that you have a little slack in the chain for when the flapper is closed. Reattach the refill tube in the same way you had it connected prior to uninstalling it. Turn on the water supply to the toilet and flush to test your installation.
Let Caldwell Plumbing Help
Alternatively if you would like Caldwell Plumbing to install a flush valve for you please book an appointment with Caldwell Plumbing today or get a free online estimate. We provide plumbing service to Oshawa, Courtice, Bomanville, Uxbridge, Pickering, Ajax, and the rest of Durham Region.


