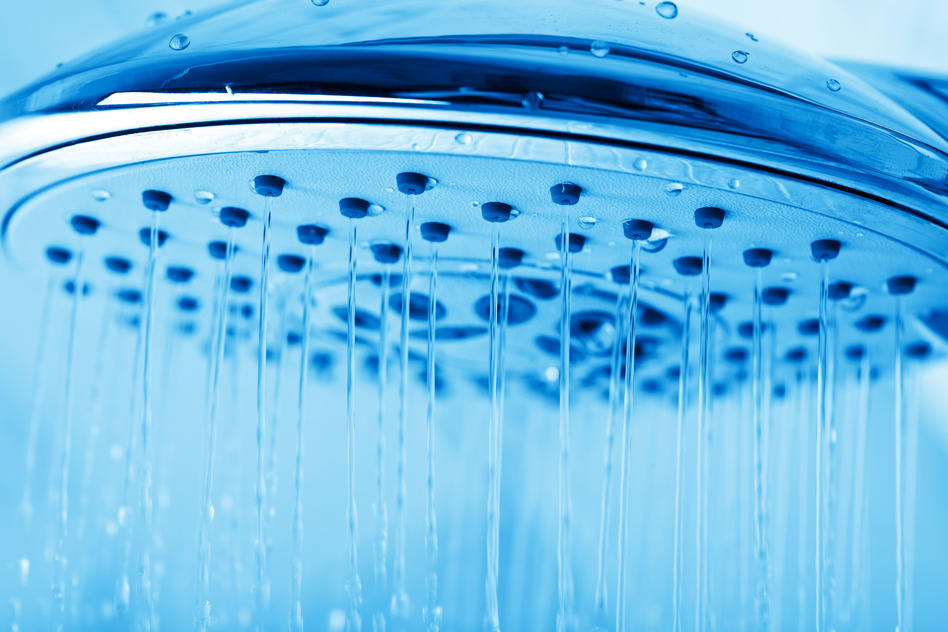
You may find that after time your shower head may not be working as it should. Uneven spray or clogged holes could be the main culprit. Before you rush out and purchase a brand new shower head to replace your current one you may want to try to repair it first. Below are 3 quick and easy steps to try and repair a shower head.
Step 1: Remove The Shower Head
Using an adjustable wrench unscrew the swivel ball nut. Make sure you wrap the jaws of the wrench with masking tape to precent any damage to the finish. Next unscrew the collar nut from the shower Head.
Step 2: Clean Out Inlet Holes
Find yourself some thing wire and use it to clean out the inlet holes of the shower head. After a good clean rinse the shower head with clean water to remove any sediment.
Step 3: Replace O-Ring
Take a look at the o-ring in the shower head and determine if it needs to be replaced of not. If it does, now is the time to do so. Also, beside to lubcriacte the o-ring at this point.
Let Caldwell Plumbing Help Repair a Shower Head
Alternatively if you would like Caldwell Plumbing to assist with repairing your shower head book an appointment with Caldwell Plumbing today or get a free online estimate. We provide plumbing service to Oshawa, Courtice, Bomanville, Uxbridge, Pickering, Ajax, and the rest of Durham Region.


