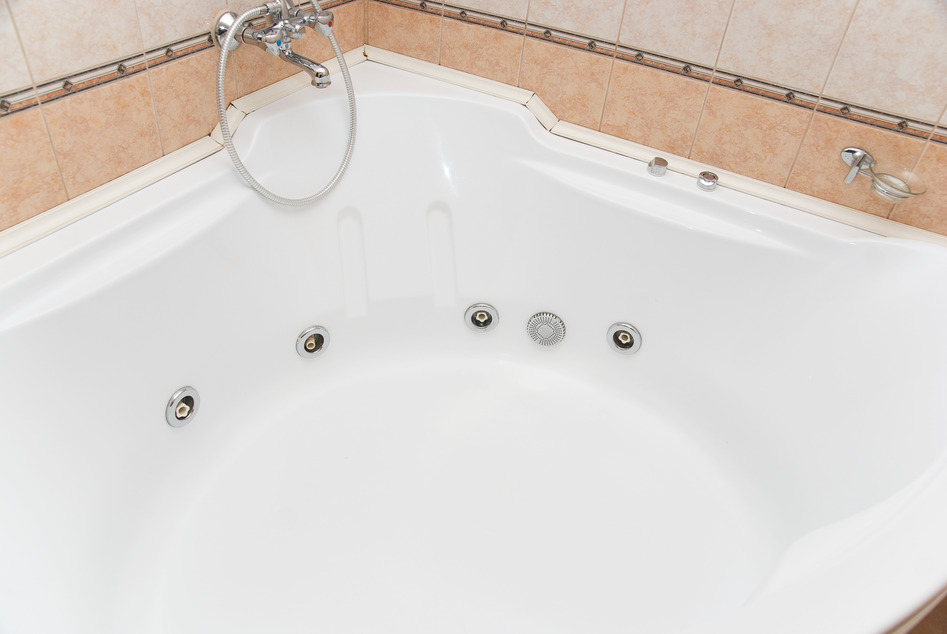
This is part two of our two part blog series on how to install a jetted tub. Keep in mind that this type of project is only recommend for the more experience plumber. Also, you will want to have your tub manual handy as each tub will have different requirements so you will need to refer to the manual from time to time. So, lets continue on with our DIY on how to install a jetted tub.
Step 11: Slide In The Tub
You are now ready to slide the tub into the installation area. Keep extra attention on the drain/overflow assembly while sliding the tub in to ensure you do not damage your setup from step 10. Align the tailpiece to the p-trap.
Step 12: Check That The Tub Is Level
Before moving onto any of the next steps you need to make sure that the tub is level on the floor. If not, shim underneath one of the feet to level the tub. *NOTE: do not shim under the apron if your tub already has one installed.
Step 13: Secure The Tub
Each tub will have different requirements on how to secure the tub in place so make sure you check with your installation manual on how to complete this step. In most cases this is done by screwing in 2×4 blocks into the subfloor around the perimeter of the bathtub.
Step 14: Hook Up The Drain Line
Hooking up the drain line is done by attaching the drain tailpiece to the p-trap in the floor. You will want to use some plumbers tape or lubricant over the thread of the pipe to ensure a tight seal.
Step 15: Test The Drain System
Now that your drain system is in place you want to make sure it is working fine. To do so you want to fill the tub with a small amount of water using a hose and visually inspect the area around the drain body for any leaks. You will also want to fill the tub so it is above the overflow line to make sure it as well is functioning.
Step 16: Hook Up The Electrical
You have already done all of the difficult electrical work leading up to this step. All that is required now is to plug in the blower and the pump motor into the receptacles.
Step 17: Install Wall Panels
If you plan on finishing the tub installation with wall time then you will want to uinstall cementbaord wall panels at this point. If your not going to be using wall tile and are choosing to use the manufacture tub surrounding then you can install old-resistant drywall at this point.
Step 18: Complete The Wall Surface
At this point you want to finish your wall surface by either placing your wall tiles or your tub surrounding. Keep in mind that whatever wall surface you are going with you will need to have the appropriate cut outs for the spot and valves.
Step 19: Install The Spout Supply
You will first need to decide whether you want mount the faucet on the platform or the rim of of the support wall or if you want them on the tub rim. Once decided you will need and drilled your holes you can install the spout supply valves and hook them up to the supply risers. Unlike sinks tubs do not come predrilled for faucets.
Step 20: Install The Faucet
With your supply valves in place you can now attach the valve handles and the spout. Once installed you will want to test to ensure it is functioning properly. When testing you will want to run both the hot and the cold water for approximately one minute, this will make sure you clear any debris from the lines.
Step 21: Attach The Front Apron
The last step to this project is to attach the front apron of the tub to complete the look. Your tub is now ready for use
Need Help?
If your a novice plumber we don’t recommend to install a jetted tub. If you are looking to have this project done we do recommend hiring a professional. You can book an appointment with Caldwell Plumbing today to help install a jetted tub We service Toronto, the GTA, Toronto, Ajax, Pickering, Whitby, Oshawa, Uxbridge and the rest of Durham Region.

