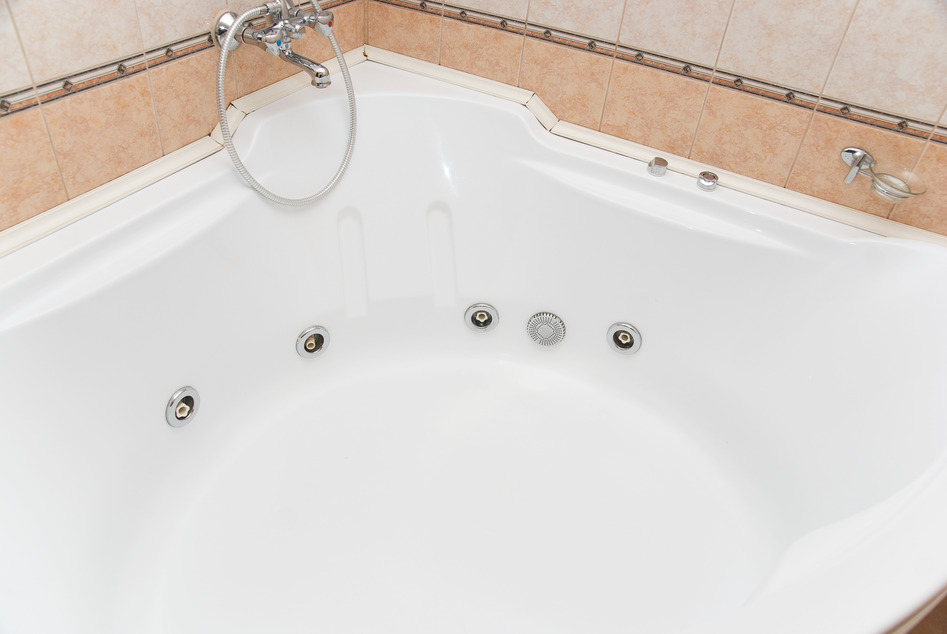
In this two part blog series we will be providing you with step by step instructions on how to install a jetted tub. Keep in mind that this type of project is only recommend for the more experience plumber. Also, you will want to have your tub manual handy as each tub will have different requirements so you will need to refer to the manual from time to time. So lets start, here’s how to install a jetted tub.
Step 1: Prepare The Area
Before jumping into any of the installation steps you must first prepare the installation area for the jetted tub. To do this you will need to indicate the location where you would like the tub to be as well as all the electrical, water supply, and drain lines. You will also want to map out your wall-mounted tub controls during this step.
Step 2: Layout Drain Location
Reffer to the manual of your jetted tub and find out exactly where your drain opening needs to be. Once located you want to cut the opening for the drain in the sub floor using a jigsaw.
Step 3: Install The Branch Drain Line
Next you want to install the branch drain line with a p-trap. Make sure that the p-trap is centered in the drain cutout area so that it can align perfectly with the drain tailpiece from the tub. Again, check the manual for the tub to get the exact measuremts from the manufacture.
Step 4: Build Framing
You will now need to build your support framing for the tub. Each build will be different so make sure you build your framing to specs required from the tub manufacture in order to ensure a proper install.
Step 5: Install Water Supply Risers
Now that your framing is up you want to go ahead and install your water supply risers along with the shutoff valves. Keep in mind that you want to leave yourself enough room to allow for an access panel which will let you access the water supply easily.
Step 6: Install A Cross Brace
In order to secure the supply pipe straps you need to install a 1×4 cross brach in the stub wall cavity.
Step 7: Run Electrical
As required in your installation manual run all the necessary new wiring circuits and install receptacles. Keep in mind that you will need a permit for this job and that this step of this project is for more experiences electricians and you may want to hire a professional. In most cases you will need to have a dedicated circuit to run the pump and a separate one to run the motor of the tub. If you wish to add any additional accessories (like lighting) you may even need to install a 3rd dedicated circuit.
Step 8: Install Wall Controls
You are now ready to install the wall controls for the tub. Make sure to check with your manufacturers specifications prior to this step.
Keep in mind that your local inspectors may want to check your wiring prior to you moving on to the next steps of installing your tub.
Step 9: Attach The Drain/Overflow Pipe
To prep the tub prior to installation you will want to install the drain/overflow pipe assembly to the tub. To do so you want to use rubber gaskets and pipe joint compound. Measure the distance from where the drain tailpiece will need to drop in order to connect with the drain trap then trim the pipe using a hacksaw.
Step 10: Secure The Overflow Assembly
From the inside of the tub secure the overflow coverplate using a screwdriver and the scores provided and thread the strainer onto the assembly.
Need Help?
If your a novice plumber we don’t recommend to install a jetted tub. If you are looking to have this project done we do recommend hiring a professional. You can book an appointment with Caldwell Plumbing today to help install a jetted tub We service Toronto, the GTA, Toronto, Ajax, Pickering, Whitby, Oshawa, Uxbridge and the rest of Durham Region.

