In last weeks article we went into detail on the topic of bidets. This week we are going to provide you with the instructions on how to install a bidet. The following are the steps to follow if you decide to attempt the installation on your own.
Step 1: Rough In The Supply Lines
The first step is to refer to your manufactures manual and rough in the supply and drain lines. If you have little or no experience with this type plumbing it would be best to schedule an appointment with Caldwell Plumbing and let us tackle this job for you. If you are confident in your plumbing skills you want to start by applying plumbers putty around the base of the bidet faucet and then insert the faucet body through the mounting holes. Once in place you can thread the washers and locknut onto the faucet body to secure it into place. Be sure to only hand tighten. If any plumbers putty squeezes out from the base after it is secure you can just remove it with a cloth.
Step 2: Install The Flange
With the flange in hand apply the bottom 2/3 with teflon tape. Keep in mind that you want to wrap it in a flockwieys direction so that when you are tightening the flange it will know cause the tape to bunch up. Once the tape is in place you can then apply ring of plumbers putty around the underside of the drain flange. You are now ready to insert the flange into the drain hole along with the gasket and washer and then thread the nut onto the flange to secure, but do not fully tighten.
Step 3: Installing The Pop-Up Drain
For this step you will want to refer to your manufactures instructions as instructions may vary.
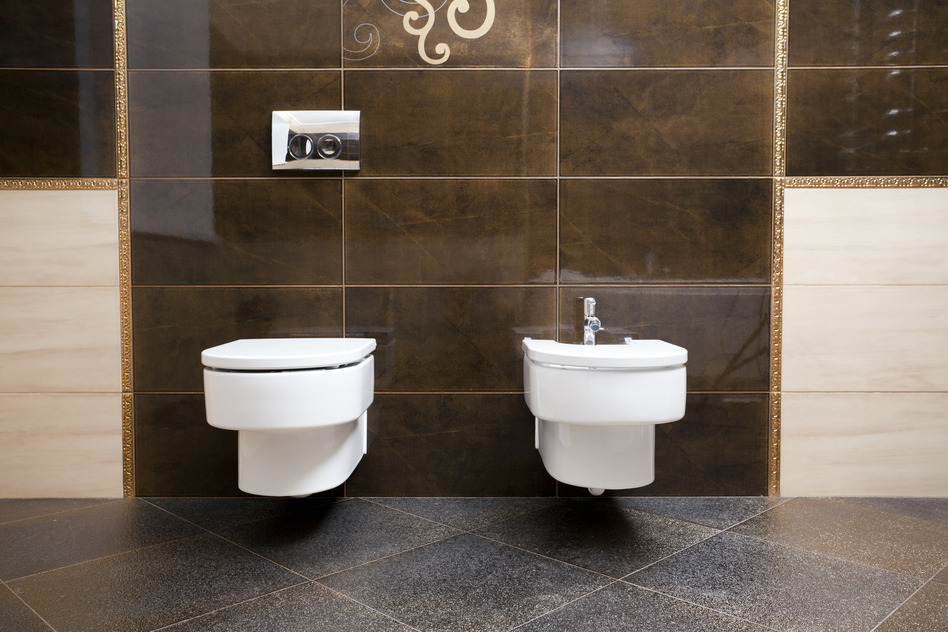
Step 4: Place The Bidet In Place
You are now ready to place the bidet in its final reseting place. Once in its location be sure to check that the supply and drains installed in the previous steps align. Now you can mark the locations for your floor bolts through the two side-mounting holes.
Step 5: Install Floor Bolts
With your floor bolt spots marked you can now remove the bidet from its current location. Using a 3/16 drill bit, drill pilot holes in the floor on your marks. Now drive your floor bolts into the holes and position the bidet so the floor bolts fit into the bowl holes in the base.
Step 6: Connect The Water Supply
We can now connect the water supply to the bidet using compression unions. Be sure to hook up the cold (blue) and hot (red) supply lines to the correct ports on the faucet.
Step 7: Hook Up Drain Line
Attach the p-trap to the drain tailpiece. Then the trap is attached to a brand drain line coming out of the wall or the floor in the same manner as a sink drain.
Step 8: Test The Bidet
First remove any debris that may be in the supply lines with the aerator and then turn on the water supply to the bidet by opening up both faucets. At this point you will want to inspect the bidet for any leaks and fix if any are found. After you ensure all is in working order you can then attach the bolt caps by threading them onto the floor bolts.
Let Caldwell Plumbing Help
Alternatively if you would like Caldwell Plumbing to install a bidet for you please book an appointment with Caldwell Plumbing today. We provide plumbing service to Toronto, the GTA, Ajax, Pickering, Whitby, Oshawa and the rest of Durham Region.


