This is part two of our two part series on how to install an alcove tub. Before reading this article we recommend that you first learn more about alcove tubs and also read part one of this series.
Step 8: Installing Your Ledger Board
Using your location mapped out in step 7 install your 1×4 ledger board. To secure it you will be using three 3″ galvanized deck screws to attach it to the wall studs. All three walls that surround the tub will need to have ledger board installed on them. However, keep in mind that you want to leave a space on the wet wall to allow clearance for the DWO (Drain Waste Overflow) kit.
Step 9: Intsalling Your DWO Kit
Install your DWO kit in the space you have left for it in step 8. This need to be down prior to the install of the tub. You want to make sure that you follow the manufacturers instructions on how to install this properly and you also want to make sure that you have a good seal.
Step 10: Drain Strainer Installation
Take some plumbers putt and run a strip around the drain outlet. Once the putty is in place hand tighten your drain strainer and thread the male end into the female threaded drain waste elbow.
Step 11: Attach The Overflow Coverplate
First make sure that your pop up drain controls are in the right location. Place the rubber gasket between the overflow pipe and the tub wall and then secure the cover plate into place by tightening the mounting screws.
Step 12: Place The Tub Into Position
This step may require a second pair of hands. You now want to place the tub into position carefully to ensure you don’t but the DWO installation. If you find that the DWO assembly does not align properly you will have to remove the tub from its location and adjust the drain locations.a
Step 13: Attach The DWO Assembly
With the tub now in place attach the DWO assembly to the P-trap. Once completed test the drain and overflow to make sure there are no leaks.
Step 14: Secure Tub
Drive a 1 1/2″ galvanized roofing nail into each stud just above the tubs nailing flange. This is to pin the flange to the stud. You want to be very careful that you don’t over drive the nail as it can cause the tub to crack or can damage the enamelled finish.
Step 15: Install The Wall Coverings
You are now ready to install all 3 of your wall coverings. If you want you can also use tile to create a custom surrounding.
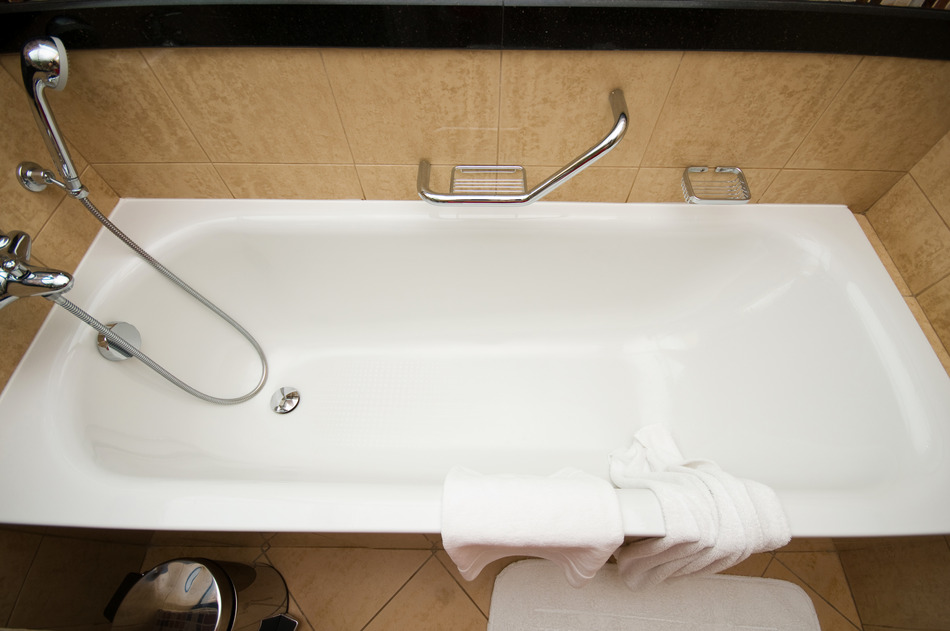
Step 16: Install Fittings
Start by threading the shower arm into the shower elbow and then attach the spout followed by the shower head. Next you can attach the escutcheon and the faucet handles. You will want to use some thread lubricant on all of threads prior to installing them.
Looking to install an alcove tub?
If you want to install an alcove tub remember it is not for the novice plumber. You will need to get access to drain lines attached to the tub and you will also have to get into the floor as well which can be quite difficult. In some cases you may find that the current tub was not built to code leaving an access panel that is too small or even non existent. Over the course of the next couple of articles we will be providing you with the steps on how to remove your current alcove bathtub and also how to install a new alcove bathtub. However, if you are looking to have this project done we do recommend hiring a professional. You can book an appointment with Caldwell Plumbing today to help with this project. We service Toronto, the GTA, Ajax, Pickering, Whitby, Oshawa and the rest of Durham Region.


