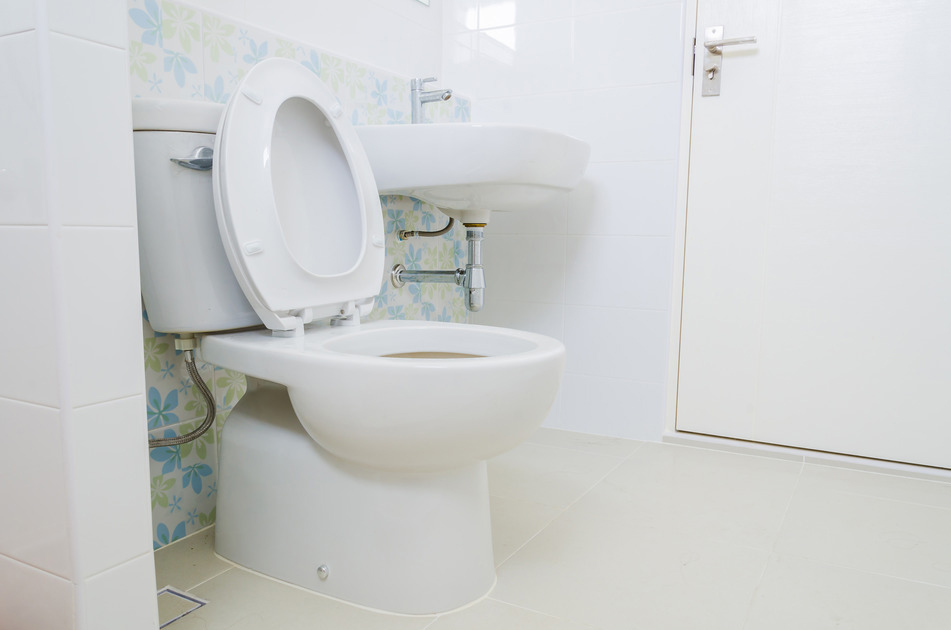
The fill valves on your toilet will wear out eventually, no way of avoiding that. When this happens you can do one of two things: repair the fill valve or replace it. It most cases you are better off replacing it. Not only is it easier but you will have more certainty that your problem will be solved. In this weeks DIY post we will walk you through the simple steps on how to replace a fill valve on your toilet.
Step 1: Prepping The Installation
Before we get going you are going to want to shut off the water supply to this toilet. Do this by turning the valve located on the tube supplies to the water tank. With the water supply shut off flush the toilet to remove the water. Then simply use a sponge to remove any remaining water. Once completed you can then loosen the coupling nut on the supply tube and then remove the mounting nut.
Step 2: Remove Old Fill Valve
With the mounting nut removed you should be able to lift out the old fill valve from the inside of the tank.
Step 3: Install The New Fill Valve
You are now ready to install your new fill valve. Before installing take a look at the new fill valve and locate you critical level or your “CL” mark. Keep in mind that when installing the new fill valve that CL mark must be a minimum of 1″ above the overflow pipe. With that in mind you can now slip the slip a washer over the threaded end of the fill valve and then place the threaded end of the new fill valve through the hole on the inside of the tank so that the washer is flush with the bottom of the tank. Prior to securing the new fill valve into place check to see if your CL level is accurate. If you notice that the CL level is not accurate you will need to remove the new fill valve and adjust the CL level. Each product will be adjust differently so refer to your manufacturers manual for instructions on how to do this. Once the CL level s in the right spot we can move to the next step.
Step 4: Secure The New Fill Valve
With the new fill valve in place you are ready to secure it to the tank. From the underside of the tank thread the mounting nut onto the threaded end poking through the bottom of the tank. Hand tighten and then using a wrench give it an extra 1/4″ turn, make sure to not over tighten. Once it is secure you can thread the supply tube line back onto the mounting nut.
Step 5: Attache Refill Tube
Now take your refill tube, attach the flat end to the nipple on the side of the fill valve and attach the angled end to the overflow pipe by hooking it into place. If there is any excess tube use scissors and remove it. Note that you don’t want to insure the refill tube inside of the overflow pipe, you want it to hook it to the overflow pipe so that it sits above the top in order for it to function properly.
Step 7: Test Installation
You are now ready to turn on the water supply to the toilet. At this point you want to tighten any part of the unit that you see dripping water. Now flush the toilet and ensure all is functioning properly.
Let Caldwell Plumbing Help
Alternatively if you would like Caldwell Plumbing to install a fill valve for you please book an appointment with Caldwell Plumbing today or get a free online estimate. We provide plumbing service to Oshawa, Courtice, Bomanville, Uxbridge, Pickering, Ajax, and the rest of Durham Region.


