In our last article we provided you step by step instructions on how to remove an alcove tub. Now that you have removed the old tub it is time to install the new one. This is part one of a two part series on how to install an alcove tub.
Step 1: Prepare For The New Tub
The first thing you want to do is inspect and get rid of all old and deteriorated framing or wall surfaces in the tub area. It is a good idea to do this and replace it with some mild resistant wallboard so that you don’t open yourself up to having hidden damage in your wall.
Step 2: Check Your Subfloor
Next you want to make sure that your subfloor is level. If it is great, move onto the next step. However, if it is not level you will want to use pour-on floor leveller compound (which you can find at your local flooring or hardware store) to level it out. This would also be a good time to ensure that all of your drain pipes and shut off vales are in good working order.
Step 3: Adjust Your Crossbraces
Now would be the time to adjust your cross braces to the height you want. For example if you found that the shower head was previously too low, now would be the time to readjust the height of that brace. Also, check the requirements of the new faucet body and make sure the brace is the right distance from the surrounding wall and that the height is correct. If not adjust that brace accordingly.
Step 4: Installing The New Water Supply
First measure to determine what height you need to set your shower riser tube to and then cut it. Now attach the bottom of the riser tube to the faucet body and the top to the shower elbow, in that order.
Step 5: Attach Faucet Body To Brace
Using pipe hanger straps you can go ahead and attach the faucet body to the cross brace. Next you will want to take some supply tubing and connect the faucet body to the stop valves (make sure that you are connecting the cold water to the right port and the hot water to the left port). You can also now secure the shower elbow to its cross brace.
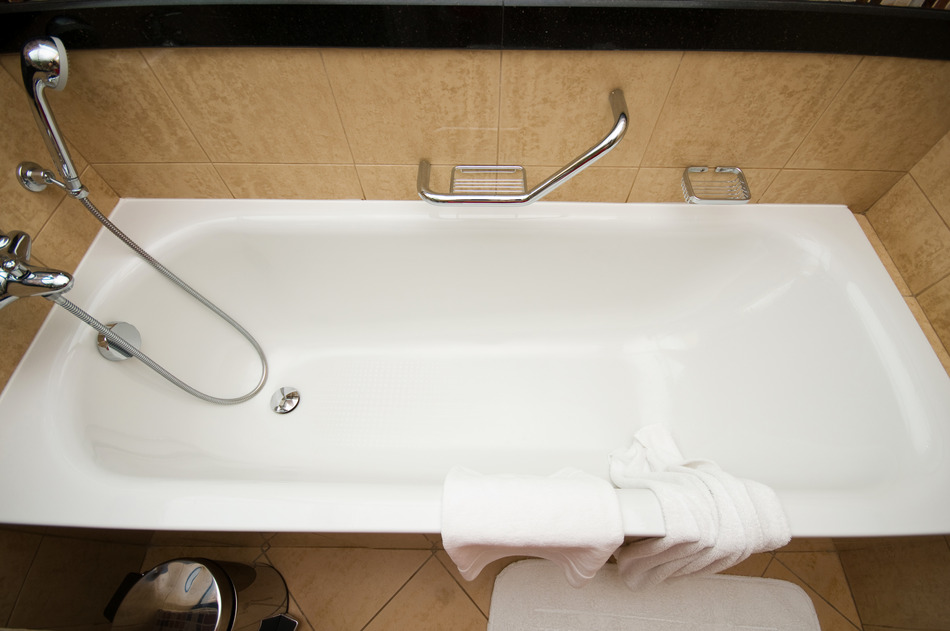
Step 6: Install The Tub
You are n ow ready to slide your new alcove tub into place. When doing so ensure that the tub is flat on the floor and right up against the back wall. Here is a helpful tip, you can use some cardboard and tape to line the tub to help protect the finish during the installation.
Step 7: Marking Your Ledger Board Location
With the tub now in place take a pencil and mark on the wall studs where your ledger board location will be by drawing a line at the height of the tub. With that done you can now remove the tub from its location and measure the height of the nailing flange. Measure down from your line the same hiehg of your nailing flange and mark that location for your ledger board.
Looking to install an alcove tub?
If you want to install an alcove tub remember it is not for the novice plumber. You will need to get access to drain lines attached to the tub and you will also have to get into the floor as well which can be quite difficult. In some cases you may find that the current tub was not built to code leaving an access panel that is too small or even non existent. Over the course of the next couple of articles we will be providing you with the steps on how to remove your current alcove bathtub and also how to install a new alcove bathtub. However, if you are looking to have this project done we do recommend hiring a professional. You can book an appointment with Caldwell Plumbing today to help with this project. We service Toronto, the GTA, Ajax, Pickering, Whitby, Oshawa and the rest of Durham Region.


