In our most recent article we introduced you to the vessel sink outlining all of its functionality and design features. In this article we will be providing you the steps on how to install a vessel sink.
Step #1: Secure The Vanity
The first step to your vessel sink installation is to secure the vanity cabinet, or the countertop of your choice, for your vessel sink. If you are using a wall hung vanity follow these instructions for the installation.
Step #2: Prep The Faucet
Before you install the faucet into the countertop you first need to prep it. To do so insert the brass mounting stud into the threaded hole found in the base of the faucet making sure the slotted end is facing out. Hand tighten the brass mounting stud and then using a screwdriver tighten it only a half a turn further to ensure it is secured in place. With the mounting stud in place you are now ready to insert the inlet hoses into the body of the faucet. Again, do so by hand and then use an adjustable wrench to tighten half a turn.
Step #3: Install Faucet Onto Countertop
With the faucet prepped you are now ready to install it onto the counter top. First place the riser ring on top of the o-ring over the faucet cutout in the counter top. From underneath the counter top you want to slide the rubber gasket over the mounting stud followed by the metal plate provided. Now thread the mounting stud nut onto the mounting stud tightening by hand first, then use an adjustable wrench to tighten another half turn ensuring it is secured.
Step #4: Prep The Pop-Up- Drain
Before we move onto installing the vessel bowl on the countertop we want to first prep the pop-up drain for installation in a later step. To do so take the small metal ring provided and place it between the two o-rings and then place over the cutout tin the countertop for the drain.
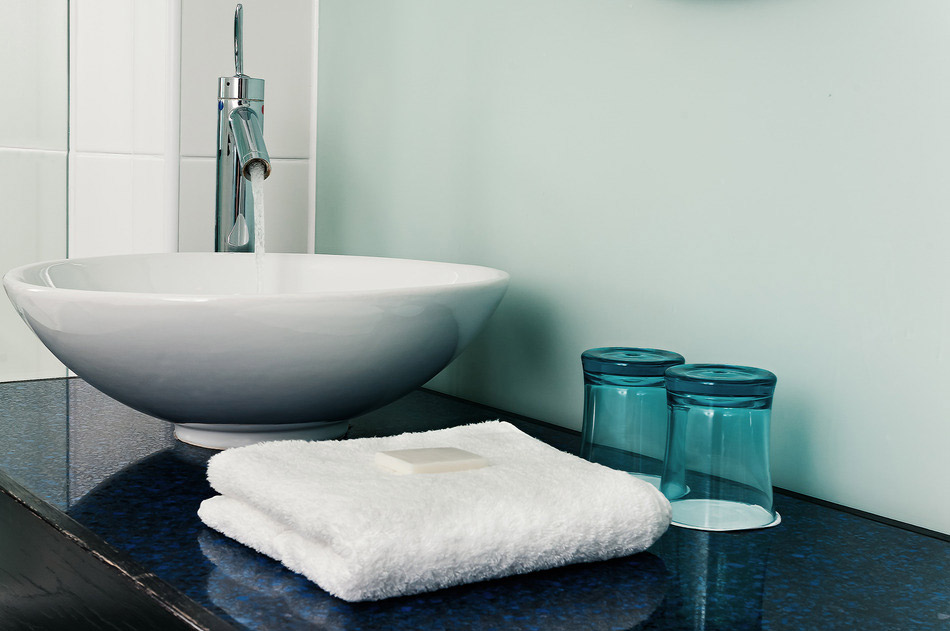
Step #5: Install The Vessel Bowl
Take the vessel bowl and place it over top of the pop-up drain you installed in the previous step. For the purpose of this installation the vessel sink is not bonded to the countertop.
Step #6: Install The Pop-Up Drain
With the sink in place put the small rubber gasket over the drain hole in the bowl. Next push the pop-up assembly though the drain hole and from underneath the countertop push the large rubber gasket onto the threaded portion of the pop-up drain and hand thread the nut over top. After you hand tighten the nut use an adjustable wrench to tighten an additional half turn. Once in place you can then thread the tailpiece onto to the pop-up assembly.
Step #7: Install The Drum Trap
On the top of the drum trap you will find rings which need to be loosened before we install it. Slide the drum trap over top of the tailpiece and slide the drain arm onto the side outlet ensuring that the flat side of the rubber gasket is facing away from the trap. Insert the drain arm into the wall and hand tighten the rings. At this point you are ready to turn on and test your installation for any leaks.
Let Caldwell Plumbing Help
Alternatively if you would like Caldwell Plumbing to install a vessel sink for you please book an appointment with Caldwell Plumbing today or get a free online estimate. We provide plumbing service to Pickering, Ajax, Oshawa and the rest of Durham Region as well as Toronto and the GTA.


