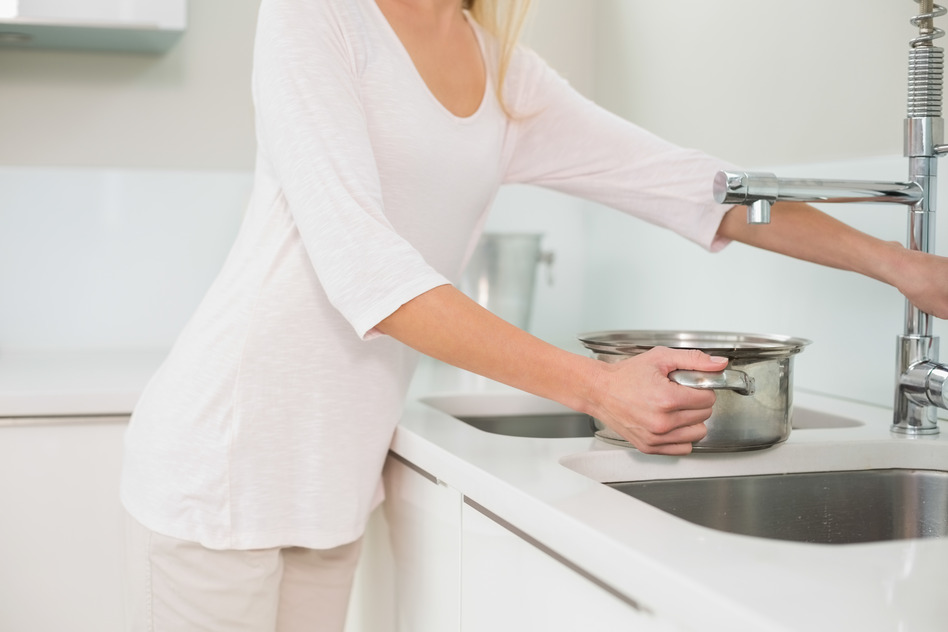
In a recent article we went over the benefits of having a pot filler in your kitchen. In this weeks article we are going to go over all of the necessary steps on how to install a pot filler.
Step 1: Install T-Fitting
The first step in this installation project is to shut off the water supply to the kitchen and then locate the cold water supply riser that is under the sink. Once located you need to cut into the riser and install a t-fitting. Alternatively you can also replace the existing shut off valve with a multiple shut off valve outlet.
Step 2: Preparing The Area
Before we begin step two you will want to ensure that all electrical power to the area has been shut off. Next you want to plan the route for the new supply line starting at the t-fitting installed in step 1 and working your way to the location on the counter top where you would like the pot filler installed. Use chalk line to snap out the location of the area and then remove wall coverings about 2″ above and below those lines. At this point it may be a good idea to pull out your largest pot and ensure the the height you have mapped our for the pot filler is high enough to fill that pot.
Step 3: Install Supply Tubes
You now want to make way for your supply tubes by drilling 3/4″ holes in the framing. If your holes are within 1 1/4″ of the stud edge make sure that you also install protector plates. Next run 1/2″ PEX from the supply riser through the holes to the pot filler location and attach nailing plates to secure the pipes
Step 4: Attach PEX Supply Line
You are now ready to attach the PEX supply line to the t-fiting on the supply riser with an accessible shutoff valve on the new line.
Step 5: Install Faucet Union
On the cooktop, install the faucet union being sure to follow the guidelines that are outlined by the manufacture. The pot filler will be installed using a drop-ear L-Fitting. Apply some pipe joint compound to the faucet inlet and thread it onto the L-Fitting.
Step 6: Final Steps
With the pluming in place you now want to place your piece of drywall back into place, but do not patch it just yet. With the drywall in place apply pipe joint compound to the threads of the faucet bod and install the flange over the inlet. You are now ready to test the pot filler to ensure it functions properly and that there are no leaks. If all is well you can patch the drywall to finish the installation.
Let Caldwell Plumbing Help
Alternatively if you would like Caldwell Plumbing to install a pot filler for you please book an appointment with Caldwell Plumbing today. We provide plumbing service to Toronto and the GTA as well as Ajax, Pickering, Uxbridge, Courtice, Bomanville, Whitby, Oshawa and the rest of Durham Region.

