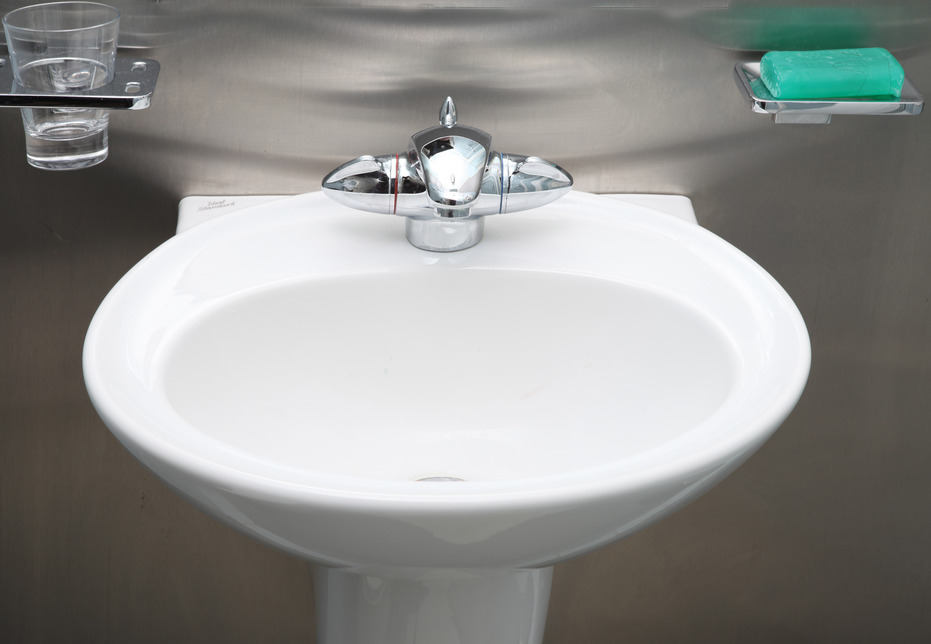
In a recent blog article that we posted we went over all of the features of a pedestal sink to determine if they are the right fit for your bathroom. Now that you are armed with that information, this weeks article will provide you with the steps to install a pedestal sink.
Step #1: Install 2×6
The first step to this DIY pluming project is to map out the location on the wall where the pedestal sink will be installed. In that location you will want to install a 2×6 between the wall studs in order to secure the sink. To do this you will need to cut out the drywall to get at the studs and then screw the 2×6 into location. At this time take into consideration whether or not your supply lines need to be moved based on your choice of sink. If they do, now would be the time to do so. When patching the drywall after the 2×6 installation be sure to do so with water-resistant drywall.
Step #2: Set The Pedestal And Sink Basin
With your 2×6 installed you are now ready to set the pedestal and sink basin in place. This is done by first placing the pedestal in its desired location and then placing the sink basin on top and temporary securing it using two 2x4s. Once in place outline the pedestal and sink basin on the floor and wall with a marker. You will also want to mark on the wall where the mounting holes are located on the sink basin.
Step #3: Secure The Pedestal
With your marker outlines in place you can set aside the sink basin and the 2x4s you were using as temporary support. Then set aside the pedestal and drill piolet holes in the floor where you have made your reference marks. Once drilled, place the pedestal back in its location and secure it to the floors with lag screws.
Step #4: Secure The Sink Basin
Now that the pedestal is in place you are now ready to secure the sink basin. Before doing so you will want to attach the faucet to the sink basin. You will also want want to drill pilot holes in the wall where you made your reference marks in step #2. Once the faucet is secure, and your pilot holes are drilled, you are ready to align the holes on the back of the sink basin with the pilot holes on the wall. Once in place you can secure the sink basin to the wall using lag screws and washers. Be sure to not over tighten.
Step #5: Hook Up The Drain and Supply Lines
The final step for this project is to hook up the drain and supply fittings. When that is complete make sure to apply some caulking between the back of the sink and the wall. You may also want to apply some caulking between the pedestal and the floor. Turn your supply lines to the on position and test your new sink for functionality and leaks.
Let Caldwell Plumbing Help
Alternatively if you would like Caldwell Plumbing to install a pedestal sink for you please book an appointment with Caldwell Plumbing today. We provide plumbing service to Toronto and the GTA as well as Ajax, Pickering, Uxbridge, Courtice, Bomanville, Whitby, Oshawa and the rest of Durham Region.


