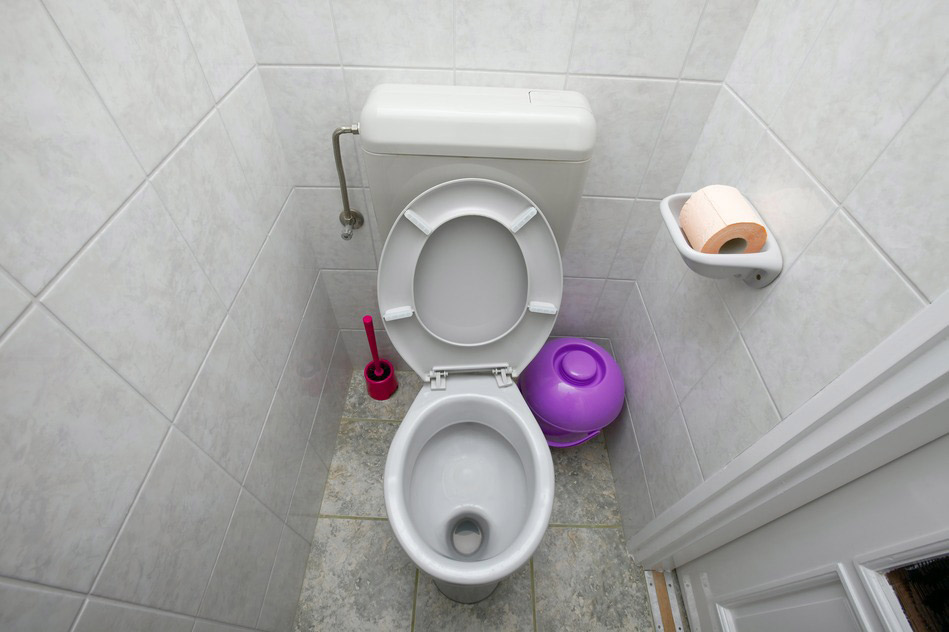
And last weeks article we provided you with step-by-step instructions on how to install a dual flush valve. This week we thought we would provide you with a useful yet simple how to just the flush tank levels in your toilet. If you find that the water in your tank does not match the original watermark prior to installation of your new dual flush and you need to adjust it. To do so turn the screw found on the top of the fill valve, clockwise to increase the water level or counterclockwise to decrease the water level.
If you are looking to adjust the level of the flushes, both half and full, you must first locate the flush valve assembly. There should be two floats found on the flush valve assembly. The higher float sets the flush level of the half flush while the lower float will adjust the full flush. To adjust the flush level on either the half flush or full flush simply adjust the height of the float stop. Simply raise or lower the height of the stop till you reach the desired flush level. You will also want to refer to your manufacturers structure is to ensure that you are adjusting the levels correctly.
Let Caldwell Plumbing Help
Alternatively if you would like one of our skilled plumbers to assist with adjusting the flush and tank levels of your toilet feel free to contact Caldwell Plumbing. Alternatively stay tuned for next weeks blog post where we will provide you with a step by step guide on how to install a dual-flush valve in your current toilet. We provide plumbing service to Oshawa, Courtice, Bomanville, Uxbridge, Pickering, Ajax, and the rest of Durham Region.


