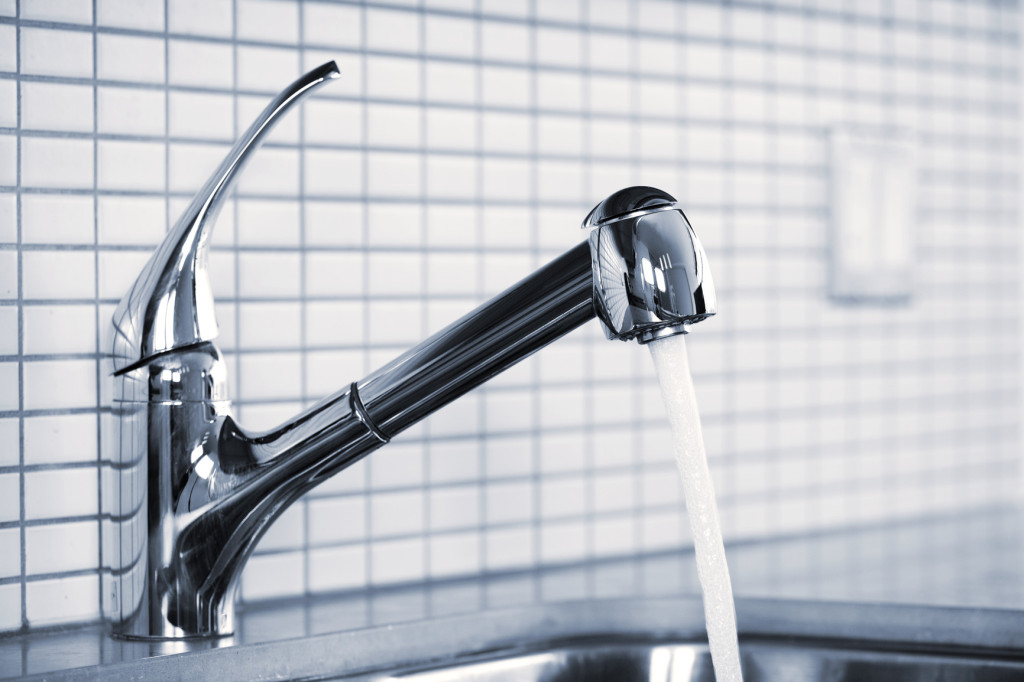
In some cases you find yourself in the situation where you have to replace a kitchen sprayer. No worries, we can provide you with the simple how to steps in doing it yourself.
Step 1: Prep For Removal
To start, shut off the water supply to this faucet at the shutoff valves. Next you want to give yourself some space to work by clearing out everything that is located in the cabinet under the sink. Unscrew the coupling nut that connects the current hose to the nipple below the faucet spout.
Step 2: Replace The Sprayer
Unthread the mounting nut on the old sprayer found below the install and remove the current sprayer body. Clean any debris and gunk off of the sink deck before you install the new sprayer. Apply some plumbers putty around the base of the new sprayer and insert it into the freshly cleaned sink deck.
Step 3: Secure The Sprayer
From underneath locate your sprayer and slip a waster over the thread and then secure it into place with a mounting nut. Hand tighten the nut and then use a wrench to tighten it a bit more. Make sure you don’t over tighten.
Step 4: Setup Water Supply
Locate the coupling for the sprayer hose and secure it to the hose nipple underneath the faucet body. To ensure that the seal is tight apply some pipe joint compound to the nipple prior to securing it and then use a wrench to ensure its tight.
You are now ready to turn on the water supply to the sink via the shut off valves and rest your installation for any leaks.
Let Caldwell Plumbing Help
Alternatively if you would like one of our skilled plumbers to assist with replacing your kitchen faucet sprayer feel free to contact Caldwell Plumbing. We provide plumbing service to Oshawa, Courtice, Bomanville, Uxbridge, Pickering, Ajax, and the rest of Durham Region.


