Recently, we touched on toilet flanges and how to determine if yours needs to be replaced. This week we will be providing you the how to steps in relaxing a PVC closet flange.
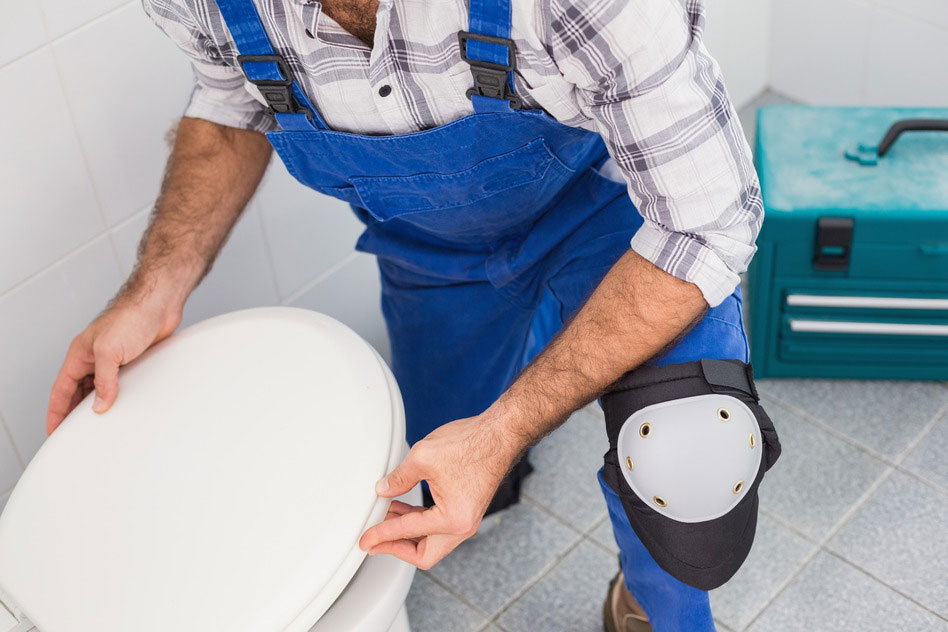
Step 1: Remove The Toilet And Wax Ring
Start out by cutting the pipe just below the bottom of the flange. Do this using an internal pipe cutter. By doing this it will allow you to remove the flange.
Step 2: Prepping For The Installation
In some cases the flange may be attached to a closet bend. If so, then you will unfortunately need to open up the floor around the toilet. This will allow you to get to the horizontal pipe that connects bend to the stack. Alternatively, it may be connected to a length of vertical plastic pipe. In this case you can use a repair coupling and a short piece of pipe to bring the pipe height back up to floor level. Glue the new pipe into the repair coupling first and allow it to set into place.
Step 3: Rough In The Replacement
Dry fit the new flange into the pipe. Then secure the flange until slots for the screws are parallel to the wall. Next, use a marker indicated on the floor where the location of the screw slots are.
Step 4: Secure The Flange
You now want to prime and solvent glue the pipe and flange. Next, insert the flange into the pipe and twist it. Make sure the slots in the flange line up with the marks made in the previous step. Next, secure the flange to the floor using stainless steel flathead wood screws.
Let Caldwell Plumbing Help
Alternatively if you would like one of our skilled plumbers to assist with replacing your PVC closet flange feel free to contact Caldwell Plumbing. We provide plumbing service to Oshawa, Courtice, Bomanville, Uxbridge, Pickering, Ajax, and the rest of Durham Region.


