This article is part two of a two part series on how to install sliding tub doors, please read part one of this series before you read this article. Alternatively you can read more about sliding tub doors and how they can improve your bathroom.
Step 7: Attach Wall Channels
With your adhesive applied you now want to position your wall channel into place. Once in place you can attach it to the wall using the screws provided. Repeat this step for the other wall channel as well.
Step 8: Installing The Header
Using your measurement from step 2 cut the header of the sliding tub doors using a hacksaw. Once cut you can simply slide the header down onto the tops of the wall channels.
Step 9: Mounting The Rollers
You are now ready to attach the rollers onto your sliding doors using a screw driver. Make sure that they are installed in the proper orientation and that any required spacers or washers are used. For this step you may want to refer to the manufactures instructions to ensure this is done to spec. Also be sure not to over tighten.
Step 10: Installing The Inner Panel
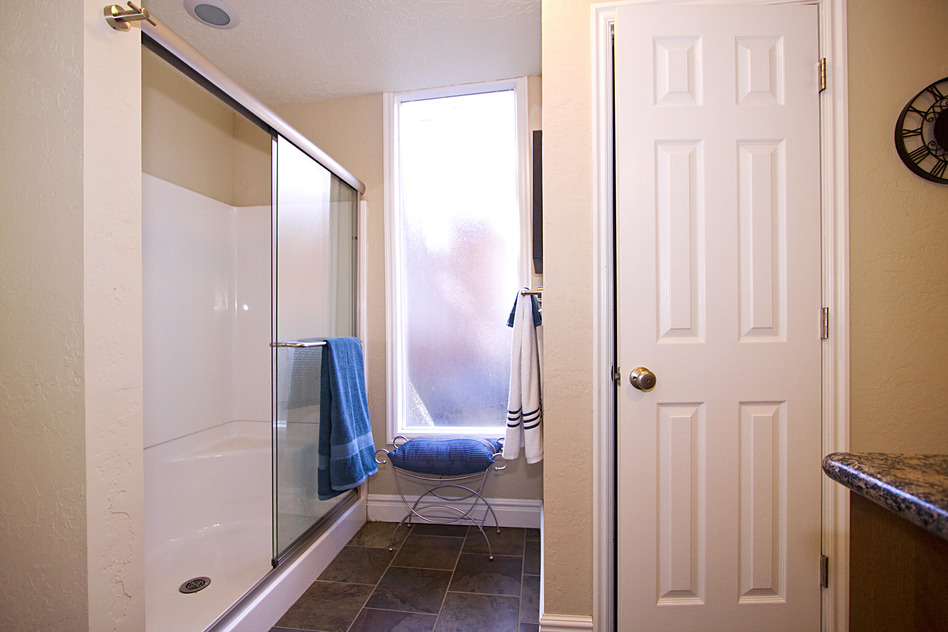
With the rollers mounted carefully lift the inner panel onto the inner roller track. Once on the track roll the door down to the end of the tub where the shower head is located. The edge of the door panel should touch the rubber bumpers. If it docent you will have to remove the door and adjust the rollers to ensure the proper fit.
Step 11: Installing The Outer Panel
This step is similar to the previous one. Lift the outer panel into place by placing the rollers over the outer roller track. If this door comes equipped with a towel bar then you want to ensure that the side with the towel bar is on the outside of the tub. Again, if the door does not make contact with both rubber bumpers then remove the door and readjust the rollers until a proper fit is made.
Step 12: Seal The Frame
With the doors on your ready do seal the frame. Apply a bead of clear silicone to the inside seam for the wall and the wall channel. Do so at both ends and smooth out the sealant with your finger *Tip – dip your finger in water prior to smoothing it out*


